


You may have heard someone talking about it or seen it in the home improvement isle or maybe this post is your first exposure to it but what is FiberFix? It’s an epoxy wrap that’s used to repair broken items around your home such as: tool handles, table legs, hoses, pipes, sports equipment, etc. After the FiberFix epoxy hardens, its similar in look and feel to a medical cast used for broken bones. However as the packaging states, “FiberFix hardens like steal” which makes it much stronger than a medical cast. The adhesive (resin) starts to activate and harden as soon as it’s removed from its package but submerging it in water activates the resin fully. The packaging also states that it is 100x stronger than duct tape, I personally don’t like the comparison to duct tape because it is nothing like duct tape. FiberFix is more of a permanent repair and duct tape is for a quick fix. With FiberFix you need gloves, water, time to let it set, and an area that you wouldn’t mind if the epoxy adhered to. Its a little messy and sticky so make sure you use gloves. Below are pictures of the product, step by step instructions on how I was able to fix a hedge trimmer handle, and a raffle giveaway.
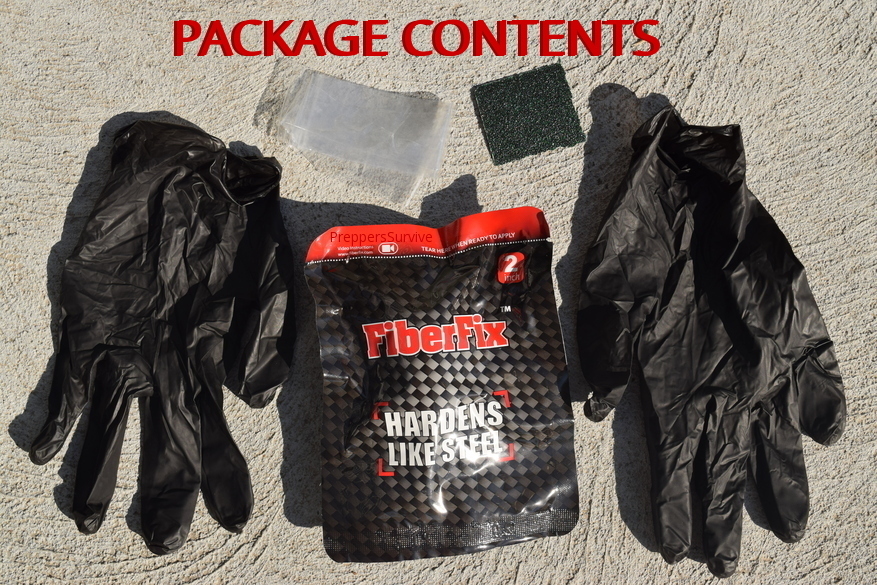
What Items are Included with FiberFix?
FIBERFIX INSTRUCTIONS
STEP 1 – Clean Area Around the Break
If it is a smooth surface, use sandpaper to rough up the area. Then use a rag to wipe off dust and dirt.
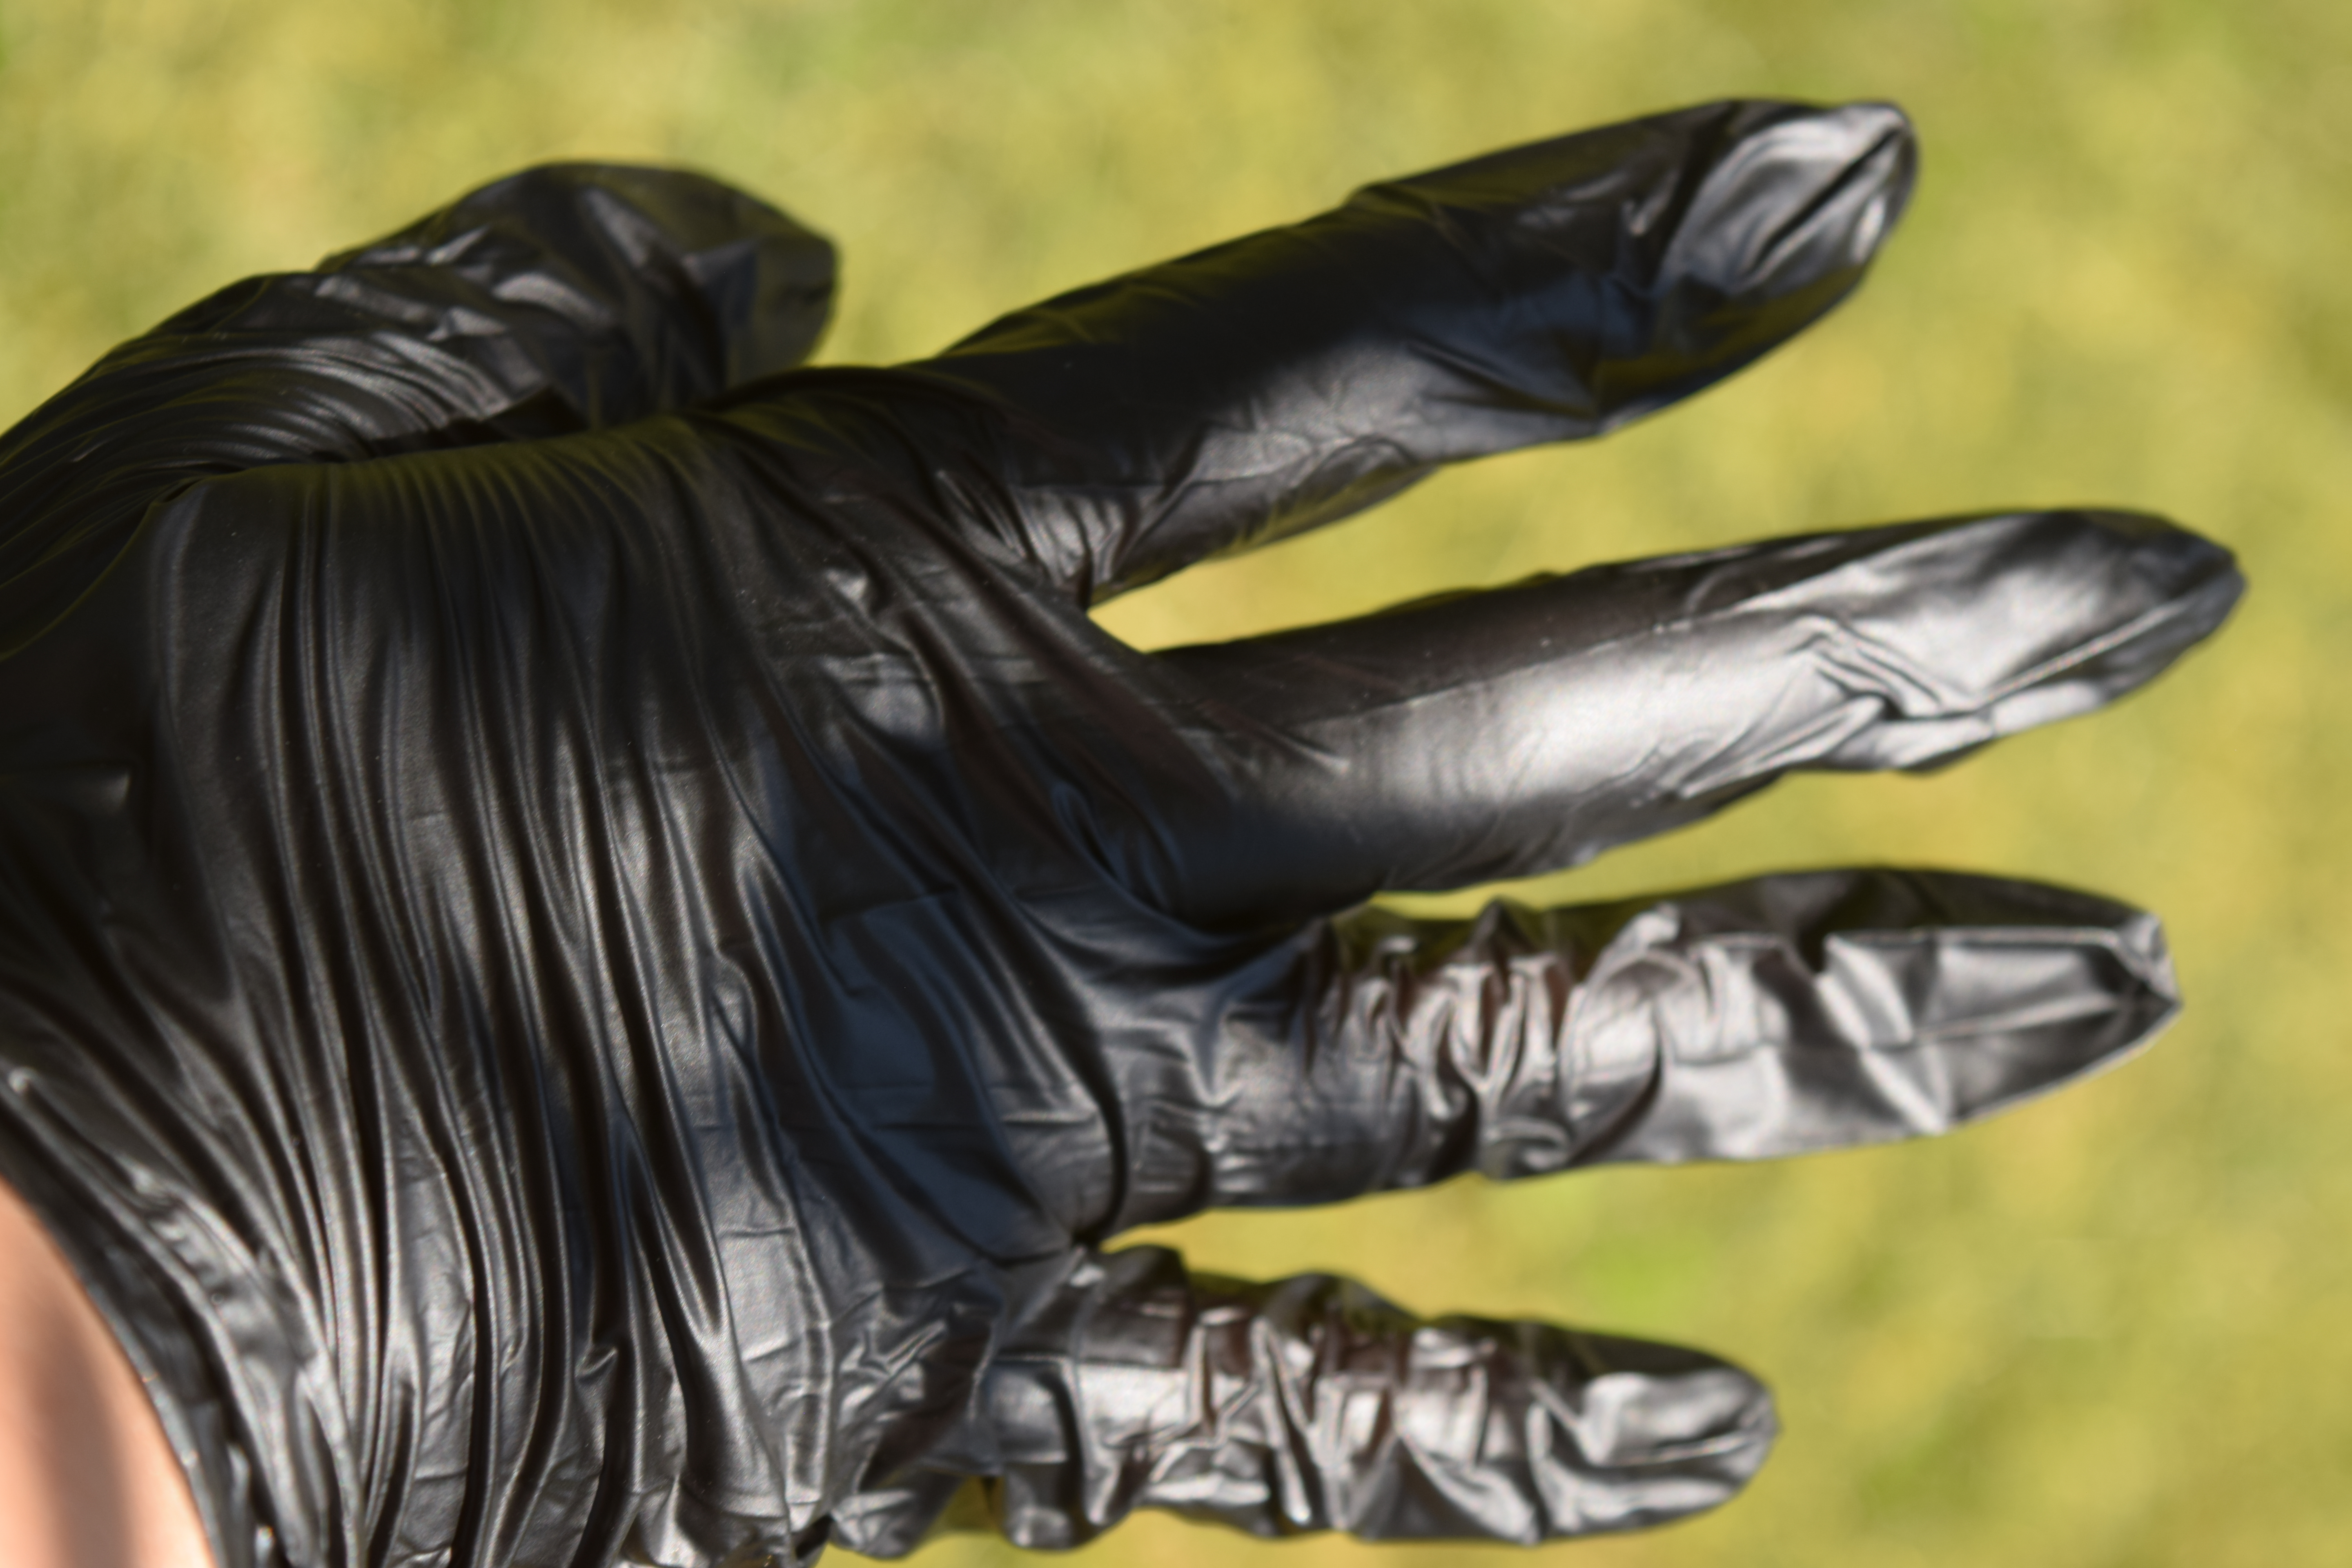
STEP 2 – Put on Gloves
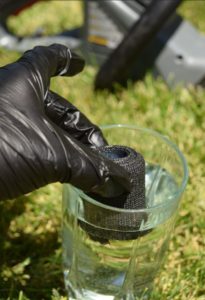
STEP 3 – Submerge for 5 Seconds
Use a container you don’t mind throwing away. I used a drinking glass and couldn’t get the epoxy off so it ended up in the trash.
Submerge the roll for 5 seconds then squeeze the excess water out of the roll.
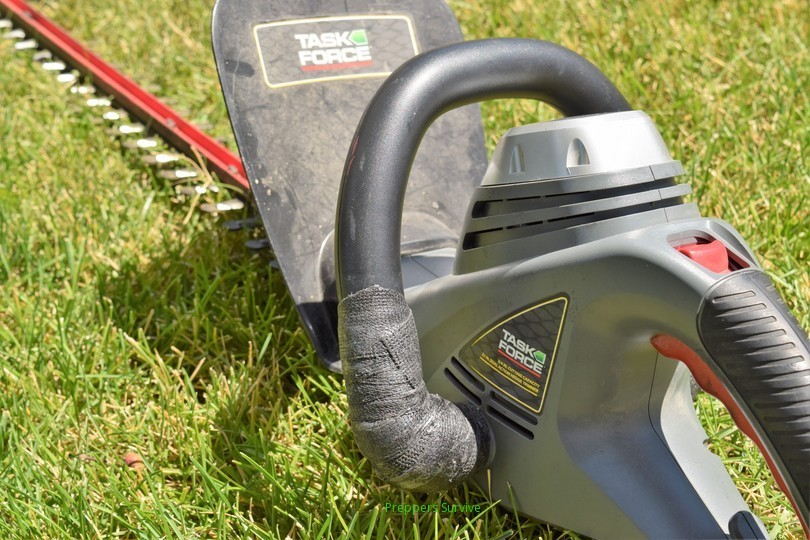
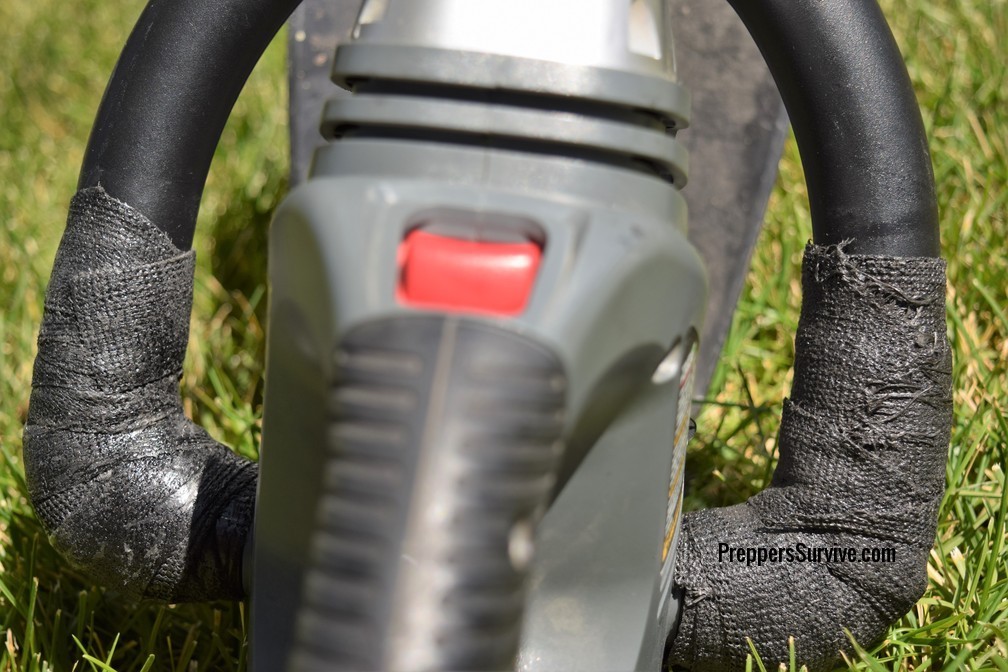
STEP 4 – Tightly Wrap Around Broken Area
STEP 5 – Wrap Vinyl Strip Tightly Over FiberFix
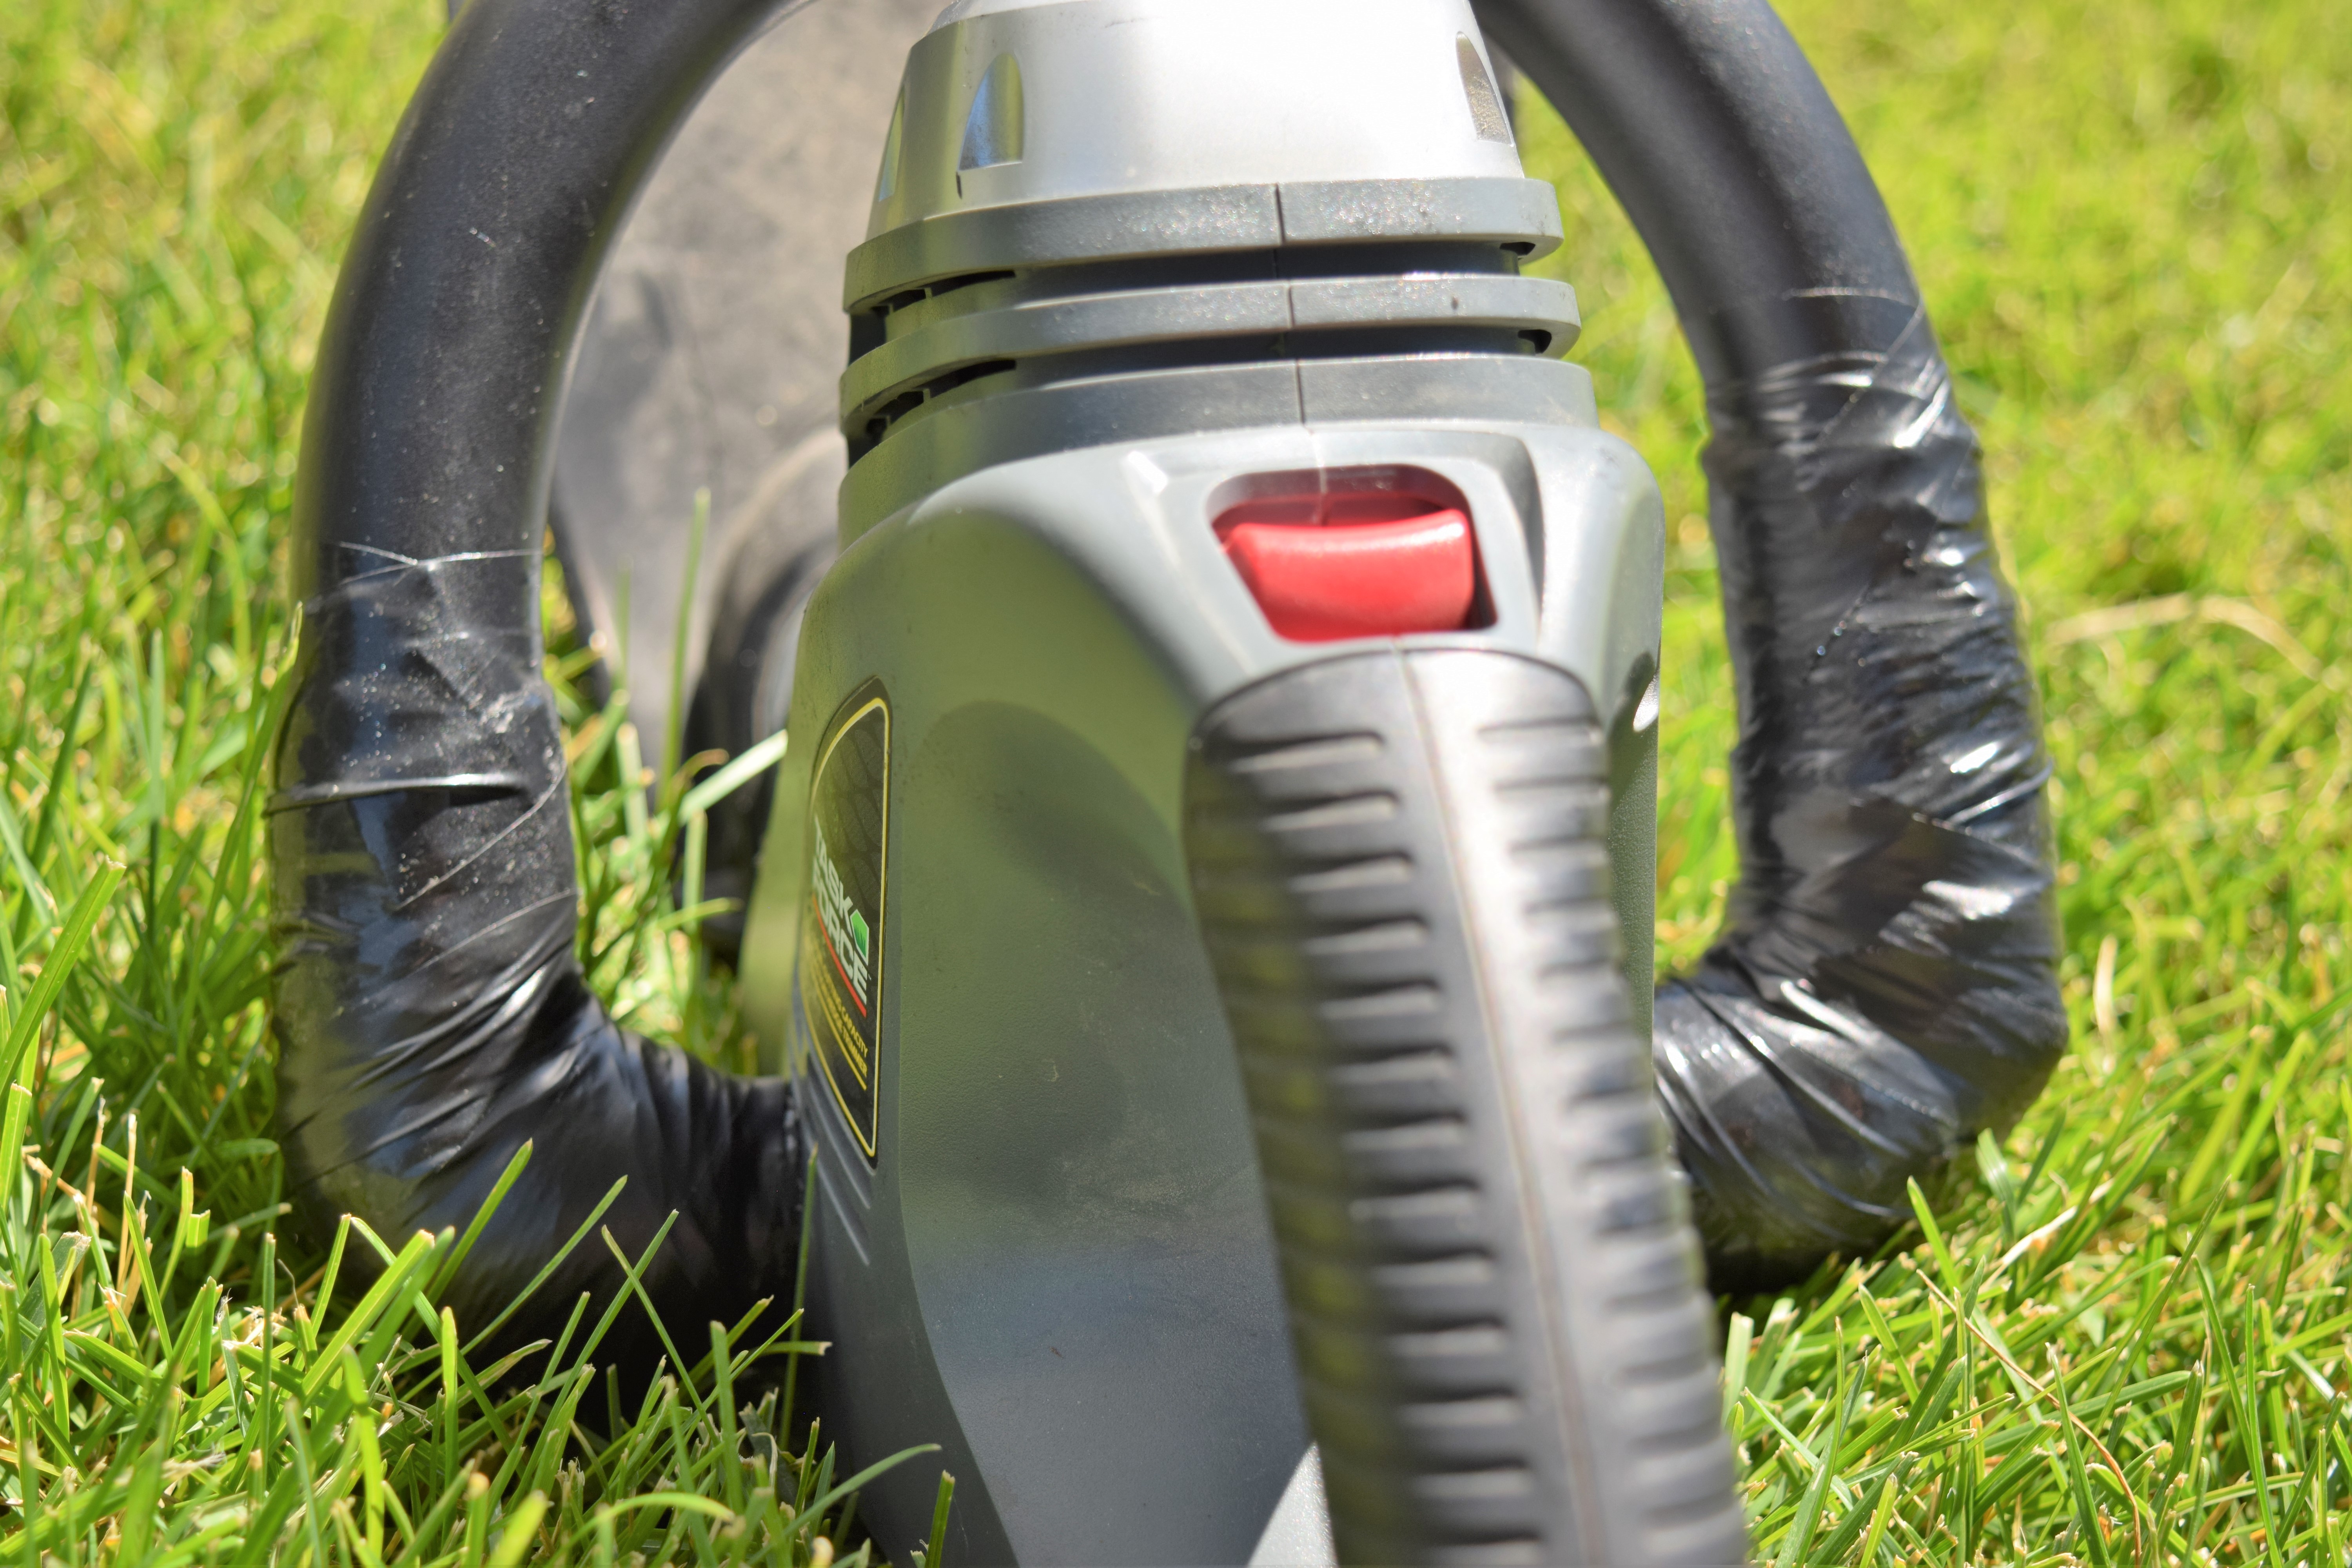
STEP 6 – Remove Vinyl Strip After 10 to 20 Minutes
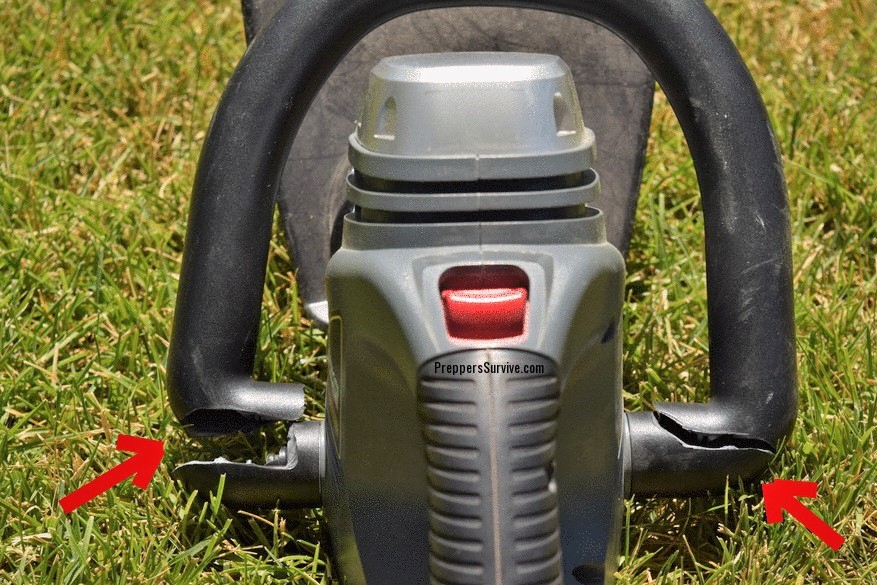
Problems I Ran Into
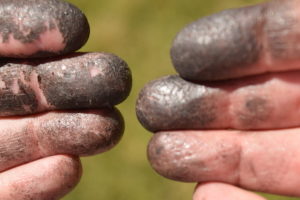
- I somehow, managed to tear a hole in the glove when I put it on plus I was working on such a narrow surface with the edger handle that the gloves became a burden. I was already messy from the hole so I took the gloves off to finish the project. I used everything I could think of to clean this off my hands: paint thinner, Goo Gone, nail polish remover, lime oil, and several others but none helped to remove the dried adhesive. In the end, I soaked them for hours in water and used a steel scrubber to get it off. I also painted my fingernails black to cover up the stains. Lesson learned, keep the gloves on!
- I was working with a two inch FiberFix roll but I really needed a one inch roll so I had to cut the length of the fifty inch roll. This resulted in ruining a pair of scissors, and the FiberFix starting to dry because it was out of the package. I was able to use the first strip I cut on the right side of the handle but the remaining strip had already hardened so it was unusable. I’m glad there were two rolls in the box. I opened a second package to finish the left side handle of the hedge trimmer.
What is FiberFix Sizes?
FiberFix comes in three different sizes:
- Small (1 inch x 40 inches)
- Medium (2 inch x 50 inches)
- Large (4 inch x 60 inches)
Conclusion
As you can see, the FiberFix worked great and saved me around $50 because I didn’t need to replace the hedge trimmer. The Fiberfix adhered to the plastic handle well. It looks and feels like the weak parts of the trimmer handle are reinforced with the hardened FiberFix tape. This product has not replaced my duct tape, I use duct tape regularly but I had FiberFix for several months before I came across an item that was worth the cost of fixing. If you decide to try it be sure to watch the “how to” videos, follow the instructions carefully, and keep the gloves on throughout the process. The current cost ranges from $6 for the one inch roll and $10 for the four inch roll.
FiberFix Giveaway
(3 Winners Will Be Chosen)
a Rafflecopter giveaway
If You Enjoyed This Post, Please Share It On Your Favorite Social Media Site

Great post! I’ve got a couple rolls of FiberFix too but haven’t found anything to use it on yet. Good to know that I should use a disposable container when I do it, I’d hate to have to throw away one of my fancy collectable Star Wars glasses.
Looks really handy…a great item for emergency kits
I just won the FiberFix! Thank you Peppers Survive!
how do repair a lowes water hose